


1. Open your design in vector file creation software such as Adobe Illustrator.
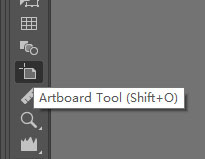
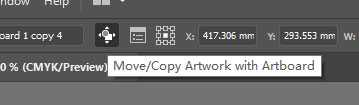
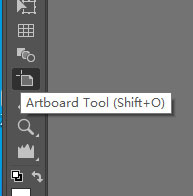
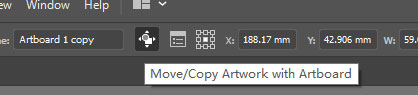
2. Use the Artboard Tool to select the current artboard, check Move/Copy Artwork with Artboard, hold down Alt, and drag to copy a new artboard. Adjust the order of the artboards on the artboard panel.
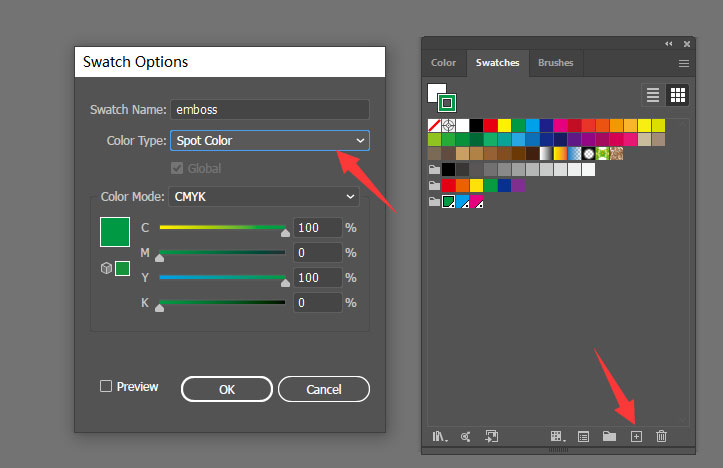
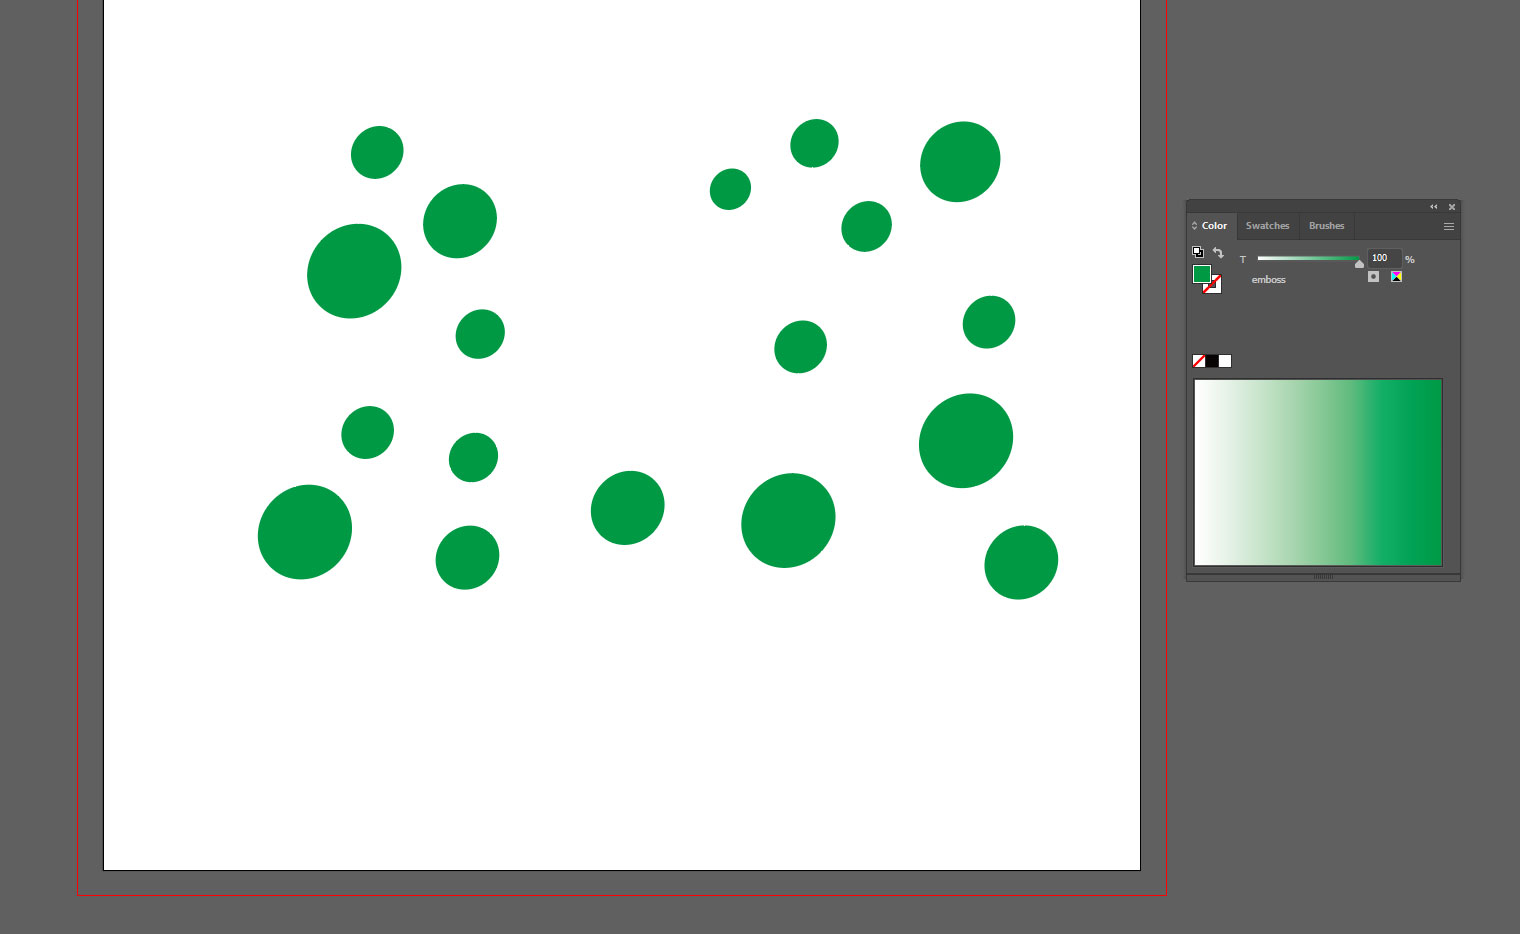
3. In the Color panel, create a new swatch and name it according to the corresponding process. Set the Color Type to Spot Color. Choose any colour value, but not white.
4. On the newly copied artboard, if the design is an image, use the Pen Tool to trace the outline of the relevant parts. It is recommended to do this on a new layer. Make sure the artwork file and mask align exactly.
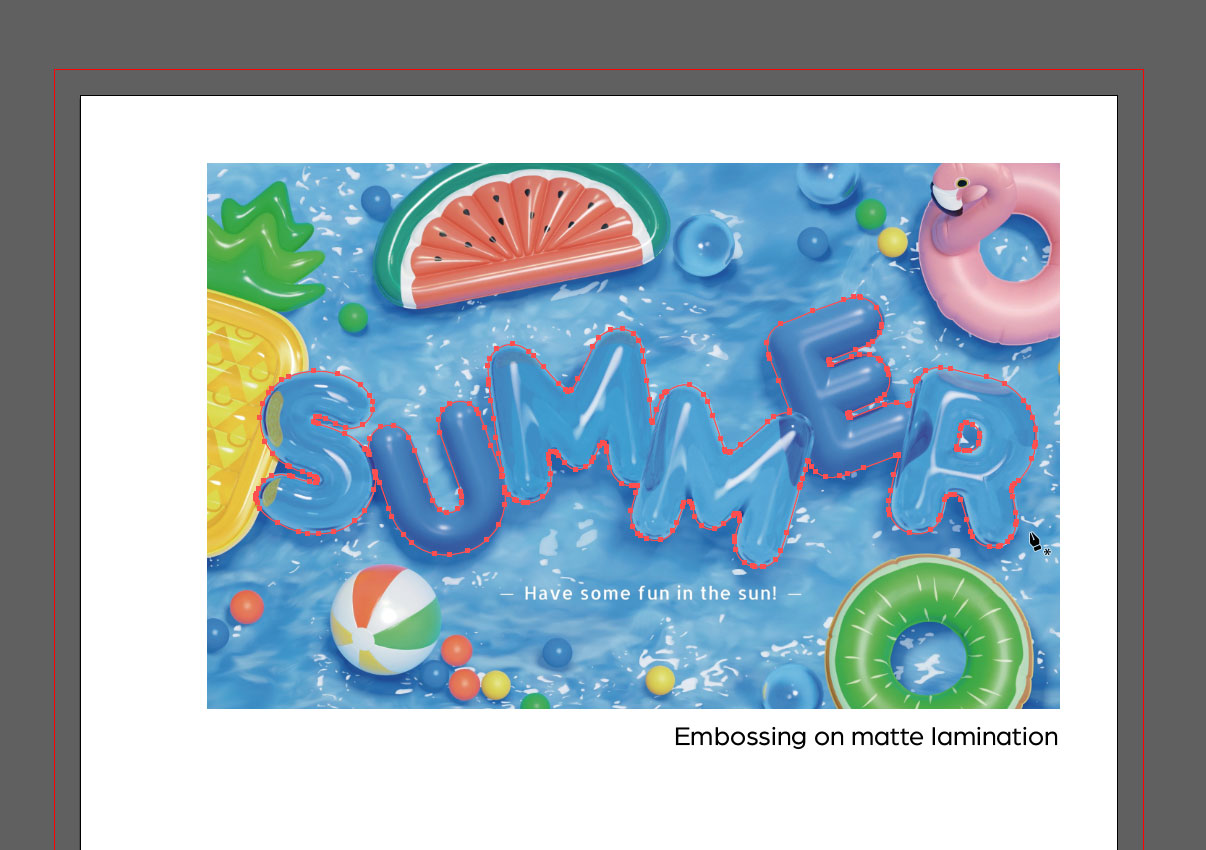
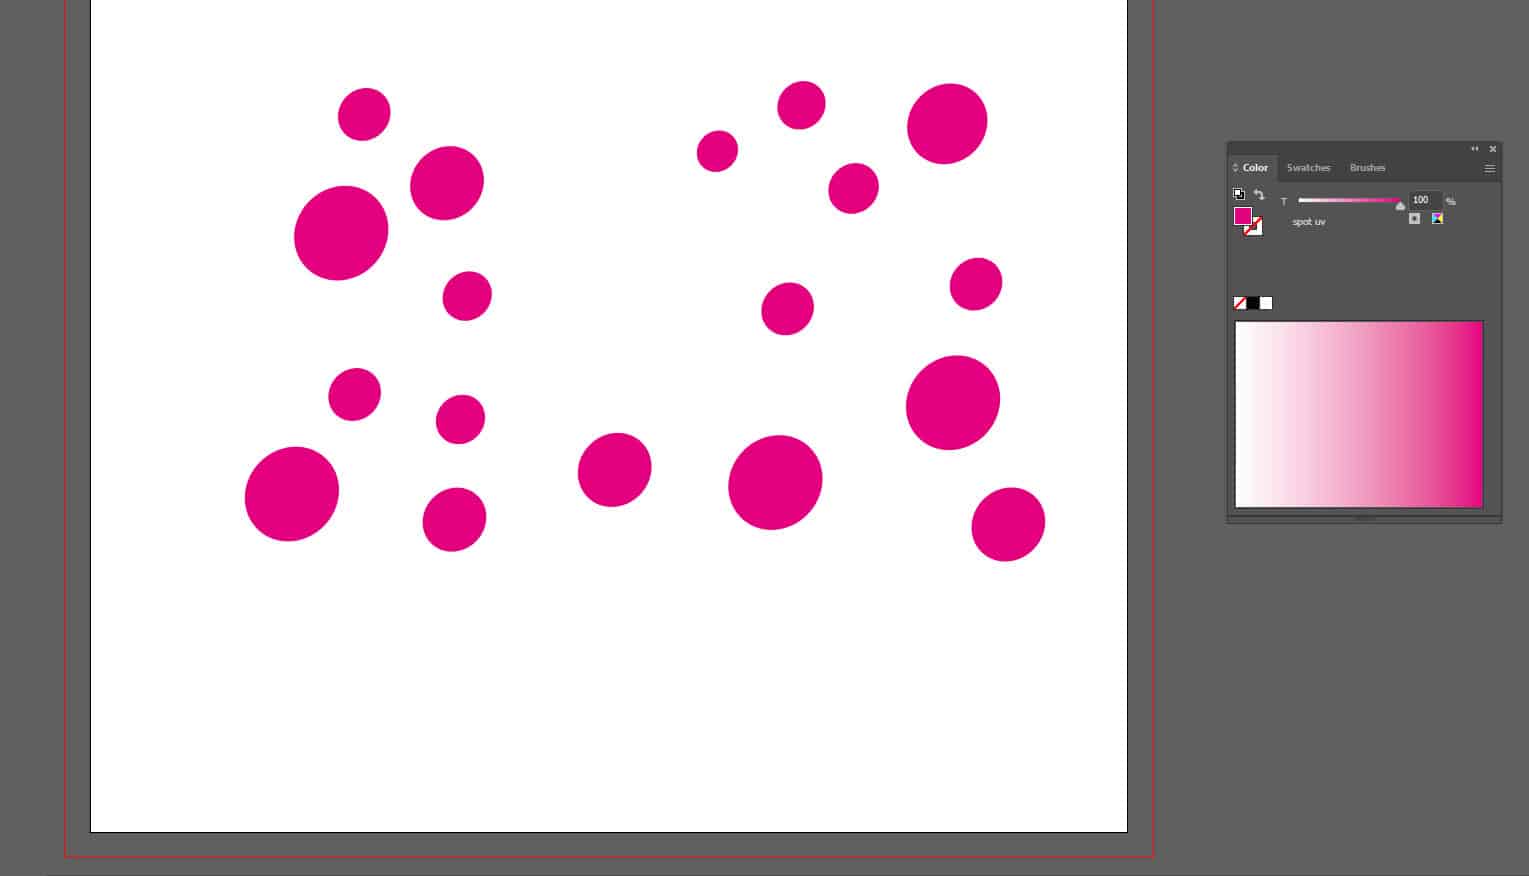
5. Fill the parts that need special processes with the corresponding spot colour.

6. Delete all content on the new artboard except for the spot colour.

7. If you want to apply multiple special finishes to the same design, you need to create a new artboard for each special finish.

12. Select “File” – “Save As” to save the file in PDF format. Make sure to include the bleed when saving.
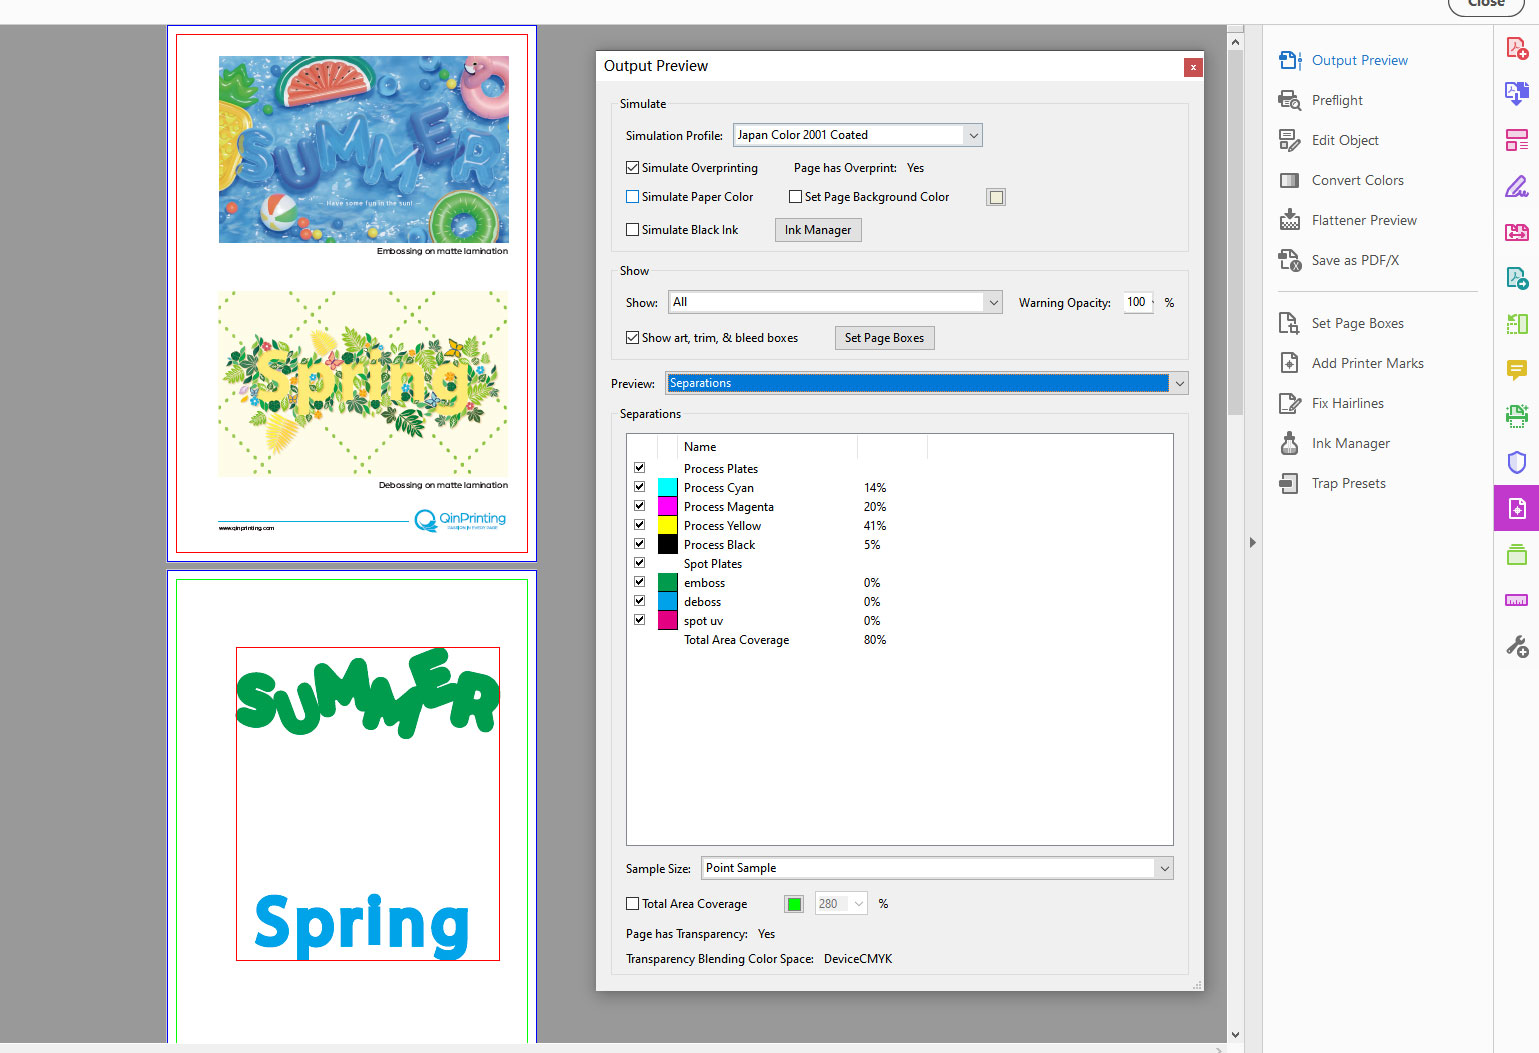
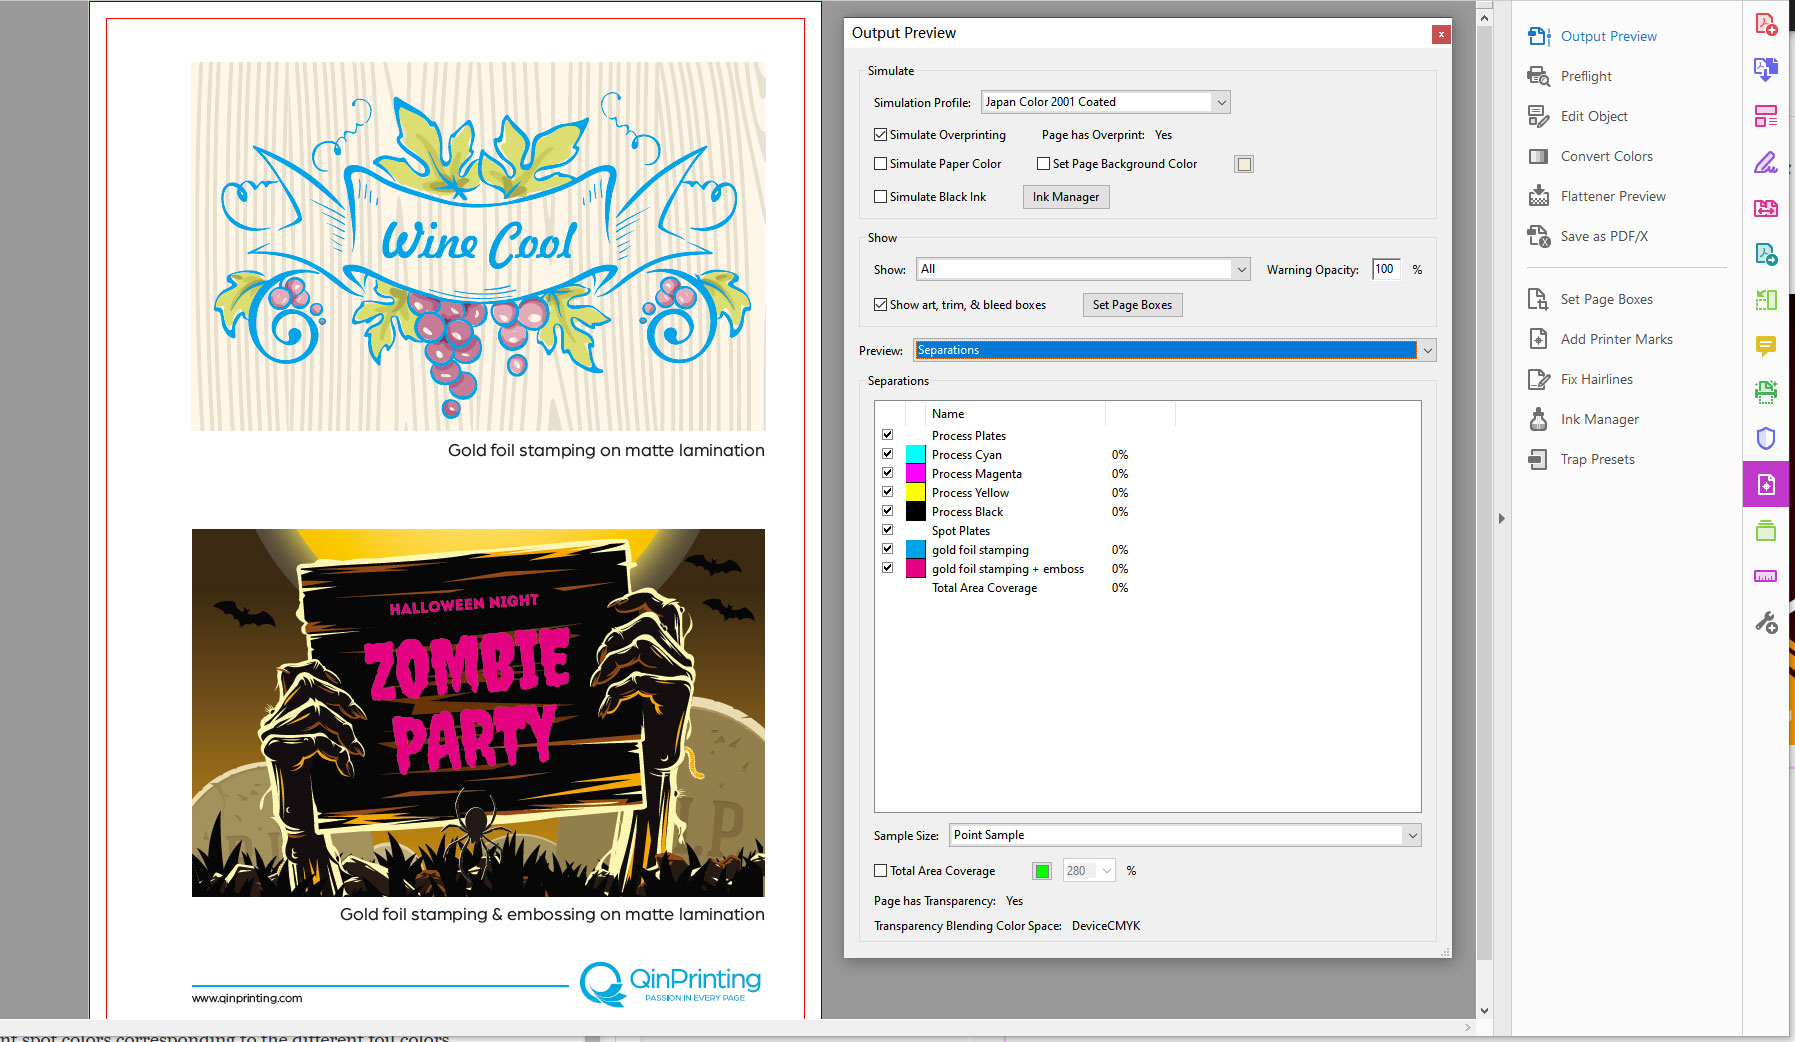
13. Open the PDF with Adobe Acrobat. You can use the Output Preview function under Print Production to check whether the spot colour is correctly applied to the design.
1. Open your design in vector file creation software such as Adobe Illustrator.
2. Use the Artboard Tool to select the current artboard, check Move/Copy Artwork with Artboard, hold down Alt, and drag to copy a new artboard. Adjust the order of the artboards on the artboard panel.
3. In the Color panel, create a new swatch and name it according to the corresponding process. Set the Color Type to Spot Color. Choose any colour value, but not white.
4. On the newly copied artboard, if the design is an image, use the Pen Tool to trace the outline of the relevant parts. It is recommended to do this on a new layer. Make sure the artwork file and mask align exactly.
5. Fill the parts that need special processes with the corresponding spot colour.
6. Delete all content on the new artboard except for the spot colour.
7. If you want to apply multiple special finishes to the same design, you need to create a new artboard for each special finish.
12. Select “File” – “Save As” to save the file in PDF format. Make sure to include the bleed when saving.
13. Open the PDF with Adobe Acrobat. You can use the Output Preview function under Print Production to check whether the spot colour is correctly applied to the design.
1. Open the design with software that can create vector files, such as Adobe Illustrator.
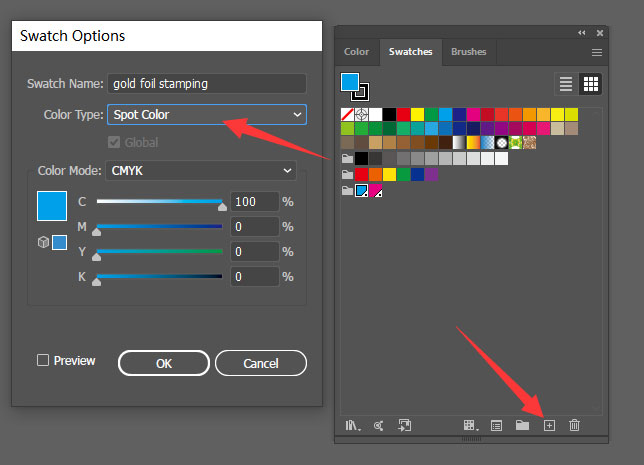
2. First, create a new colour in the swatches panel and name it “gold foil stamping”. Set the colour type to “Spot Color” and adjust the value to any colour you like, but it cannot be white.
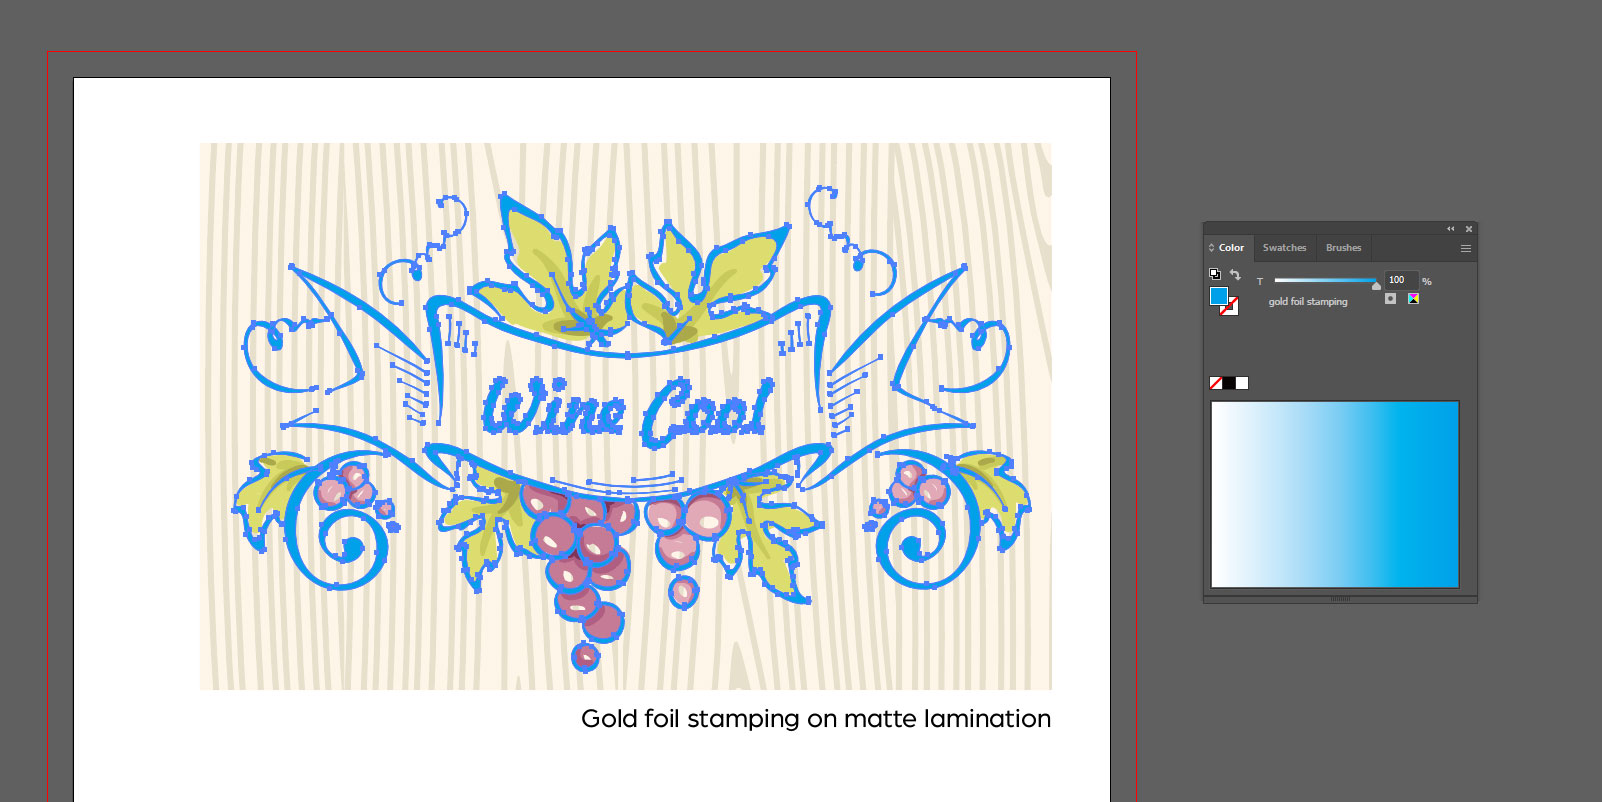
3. Fill the parts that need gold foil stamping with this spot colour. Ensure these parts are vector graphics. If your design is an image, you will need to use the Pen tool to outline the parts for gold foil stamping and then fill them.
4. Select “File” – “Save As” and save as a PDF. Make sure to include the bleed when saving.
5. Open the PDF in Adobe Acrobat. You can use the “Output Preview” feature under “Print Production” to check if the design correctly applies the spot colours.
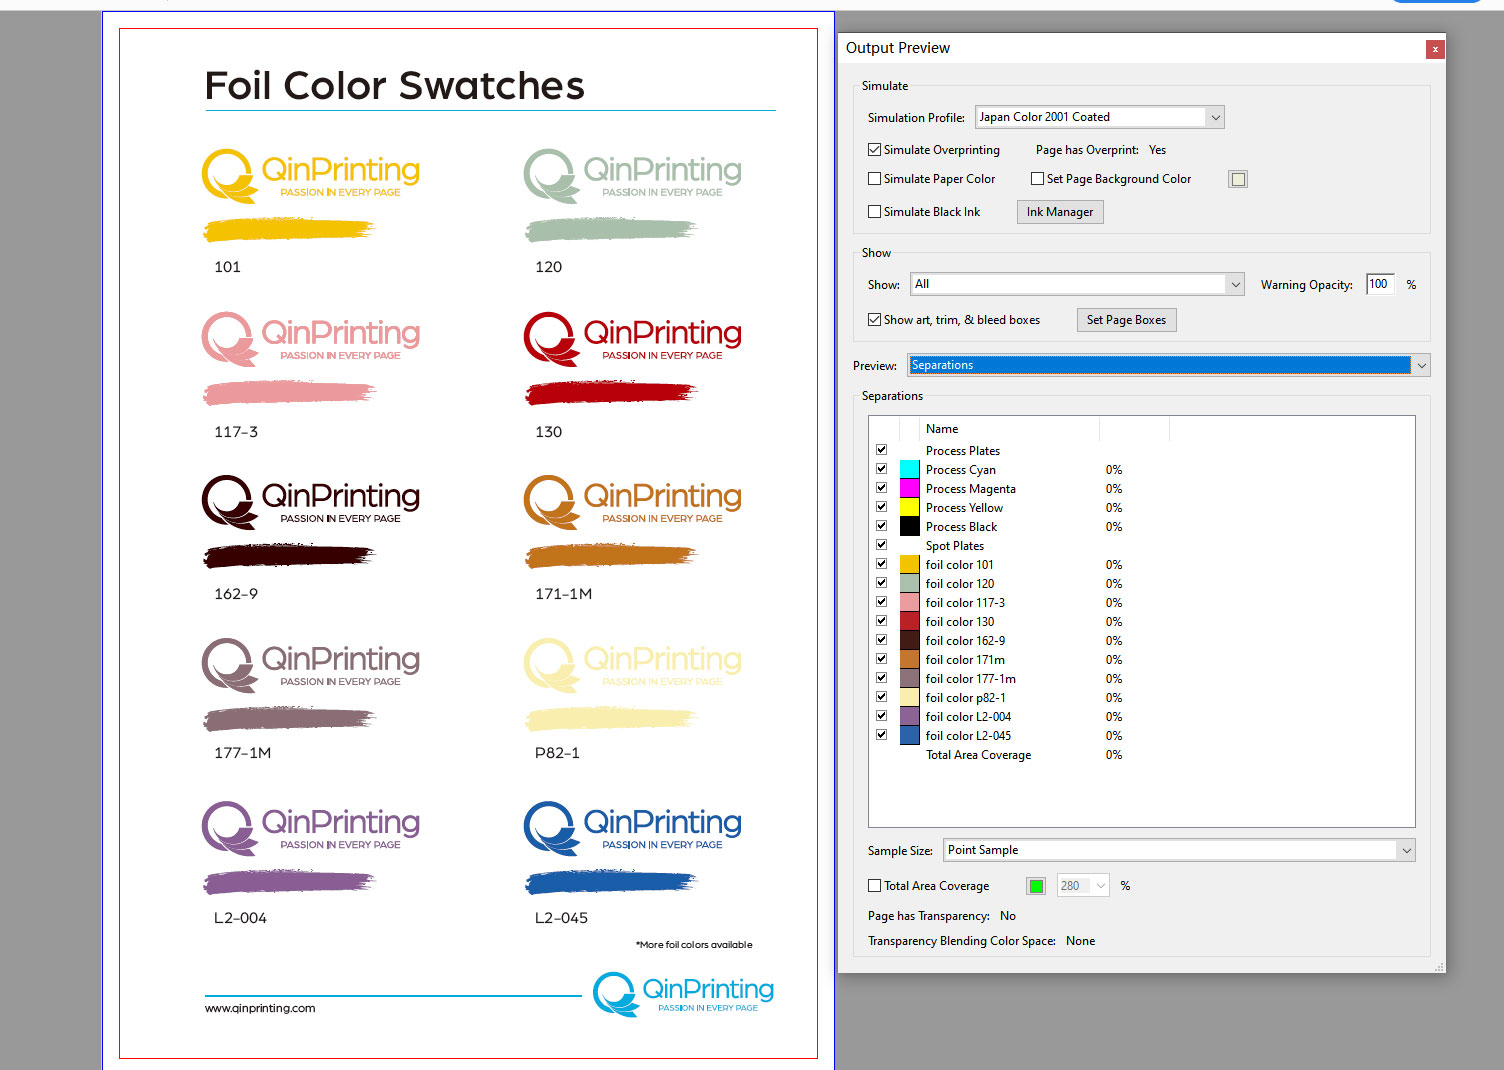
6. If you want to use multiple different colours of foil stamping, fill each part with different spot colours corresponding to the different foil colours.
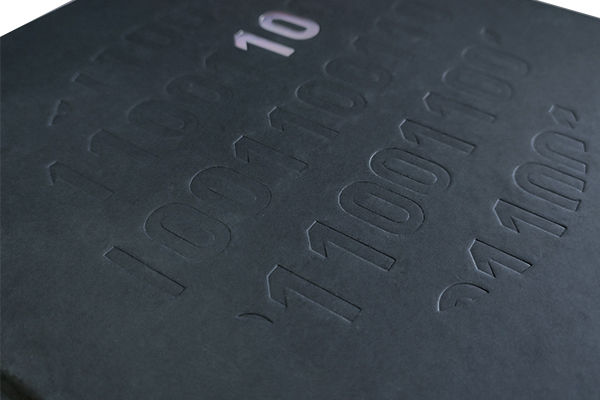
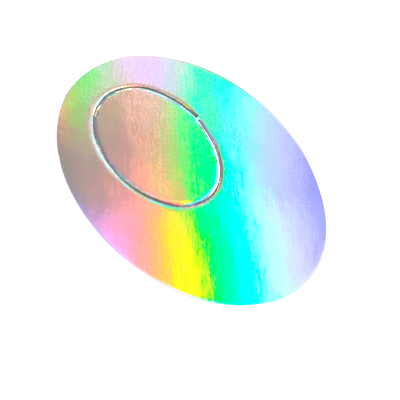
1. If you want the entire design to retain the holographic effect, no changes are needed.
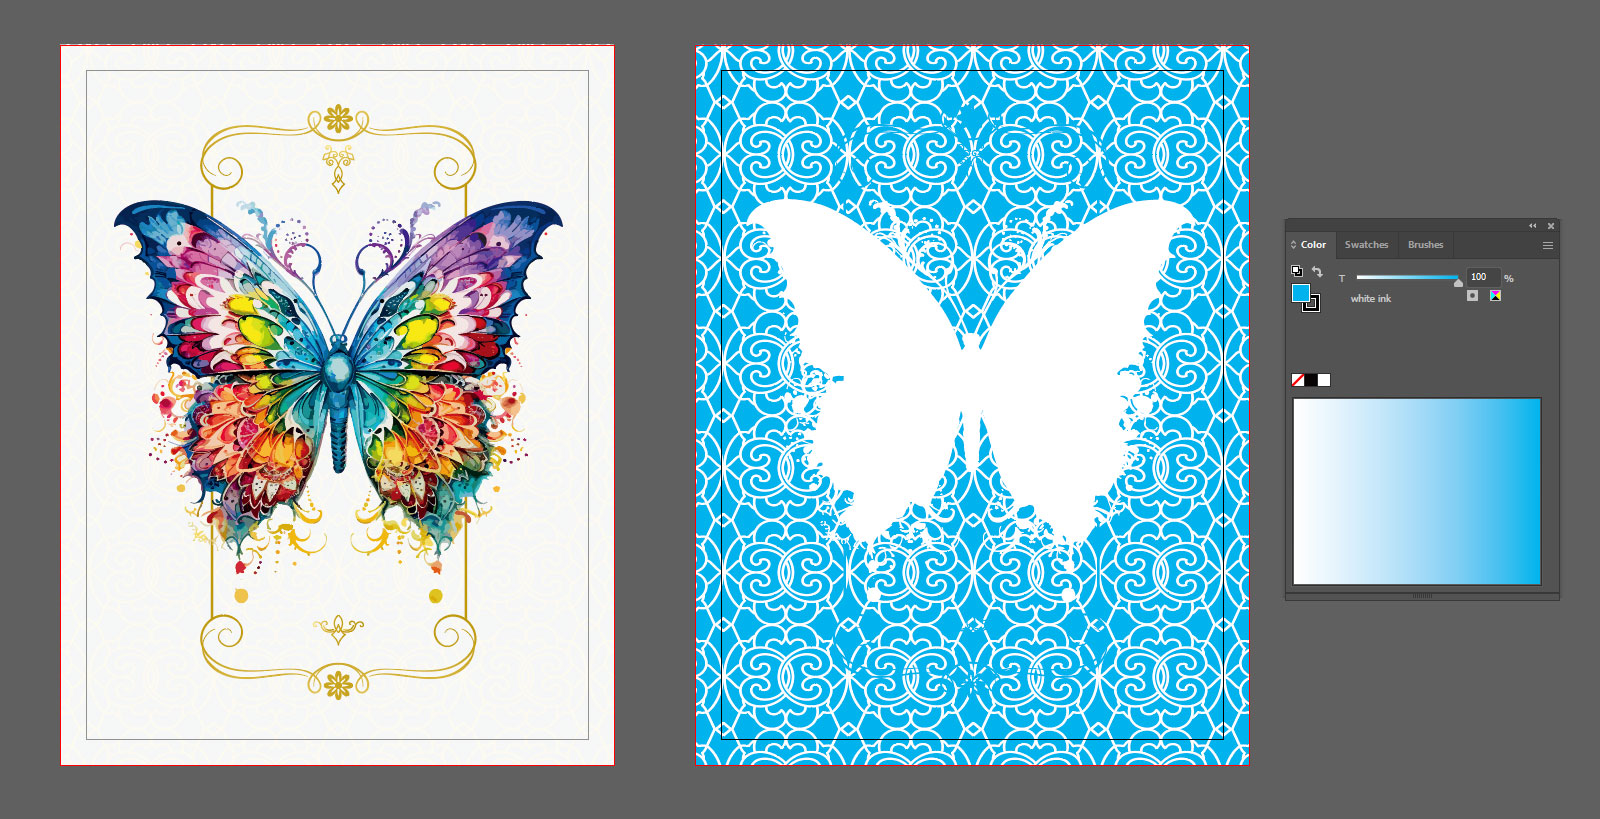
2. If you want certain parts of the design to not have the holographic effect, you’ll need to create a white ink printing file.
3. Use the Artboard tool, select the design artboard, hold down the Alt key, and drag the mouse to copy a new artboard.
4. Create a new colour swatch, name it “white ink,” set the colour type to “spot colour,” and choose any colour value but not white.
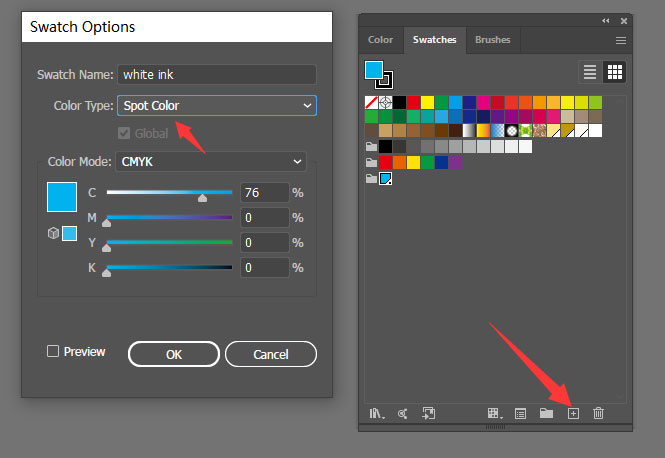
5. Then, on the new artboard, fill all the parts that do not want to have a holographic effect with this spot colour. These parts must be vector graphics. Leave the parts that need the holographic effect blank.
6. Save as PDF, making sure to include the bleed when saving.
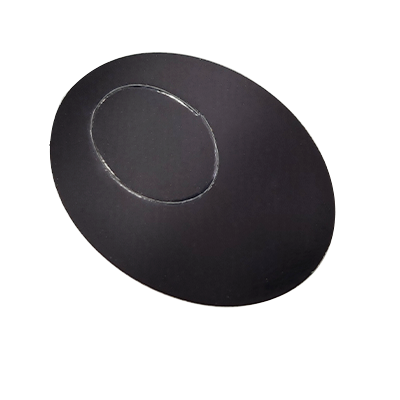
1. Open the design with vector file creation software such as Adobe Illustrator.
2. First, create a new colour in the Swatches panel and name it ‘die cut’. Set the colour type to ‘Spot Color’. Adjust the values to any colour you like, but it must not be white.
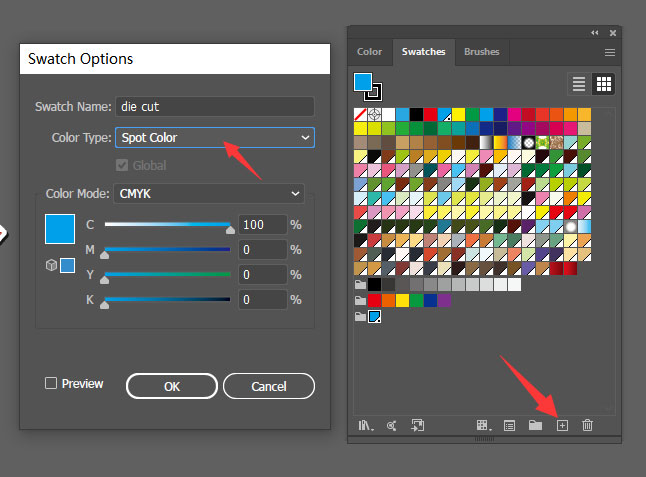
3. Use tools such as the Pen or Line tools to outline the areas that need to be die-cut. When drawing the lines, it’s best to make the corners rounded.
4. Set the stroke colour of the outline to the spot colour you just created.
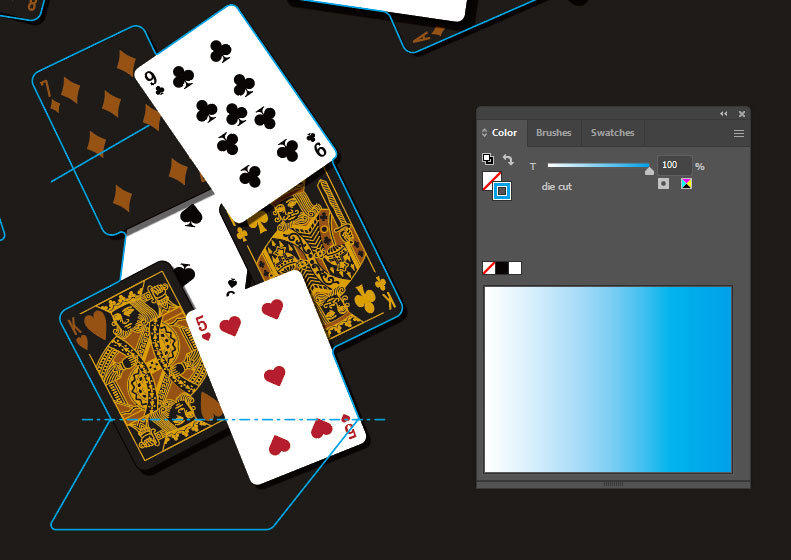
5. In the Stroke panel, you can set different types of lines. Solid lines generally indicate die-cutting, dashed lines indicate valley folds and dot-dash lines indicate mountain folds.
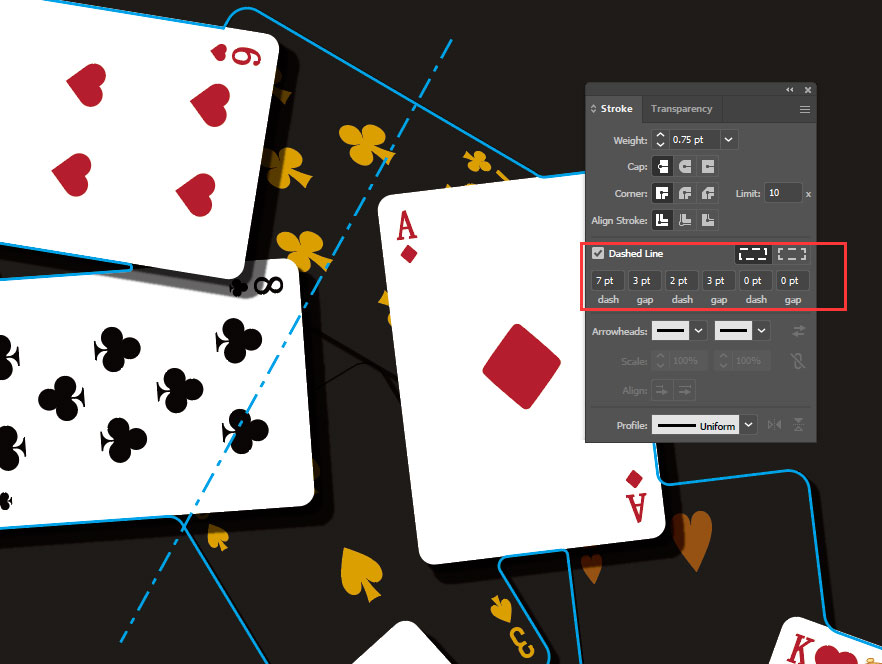
6 Of course, you can also use other types of lines or different spot colours, just make sure to mark them clearly.
7. Choose ‘File – Save As’ and save the file in PDF format. Make sure to include bleed when saving.
8. Open the PDF with Adobe Acrobat. You can use the ‘Output Preview’ function under ‘Print Production’ to check if the spot colour has been applied correctly.